Brother ScanNCut SDX1200 - The New Innovative Hobby Machine
Design, Draw, Cut, Sew... Sound's simple enough? Well it is!
Earlier this year I acquired the newest innovative cutting machine in the hobby world, the Brother ScanNCut SDX1200. Leading the industry in precision cutting and opening the craft world to design, draw and embossing, this recent model is certainly setting the hobby craft bar to new levels.

I can not tell you how excited I was when this beauty turned up. I mean seriously, you should have seen my face when it arrived.....
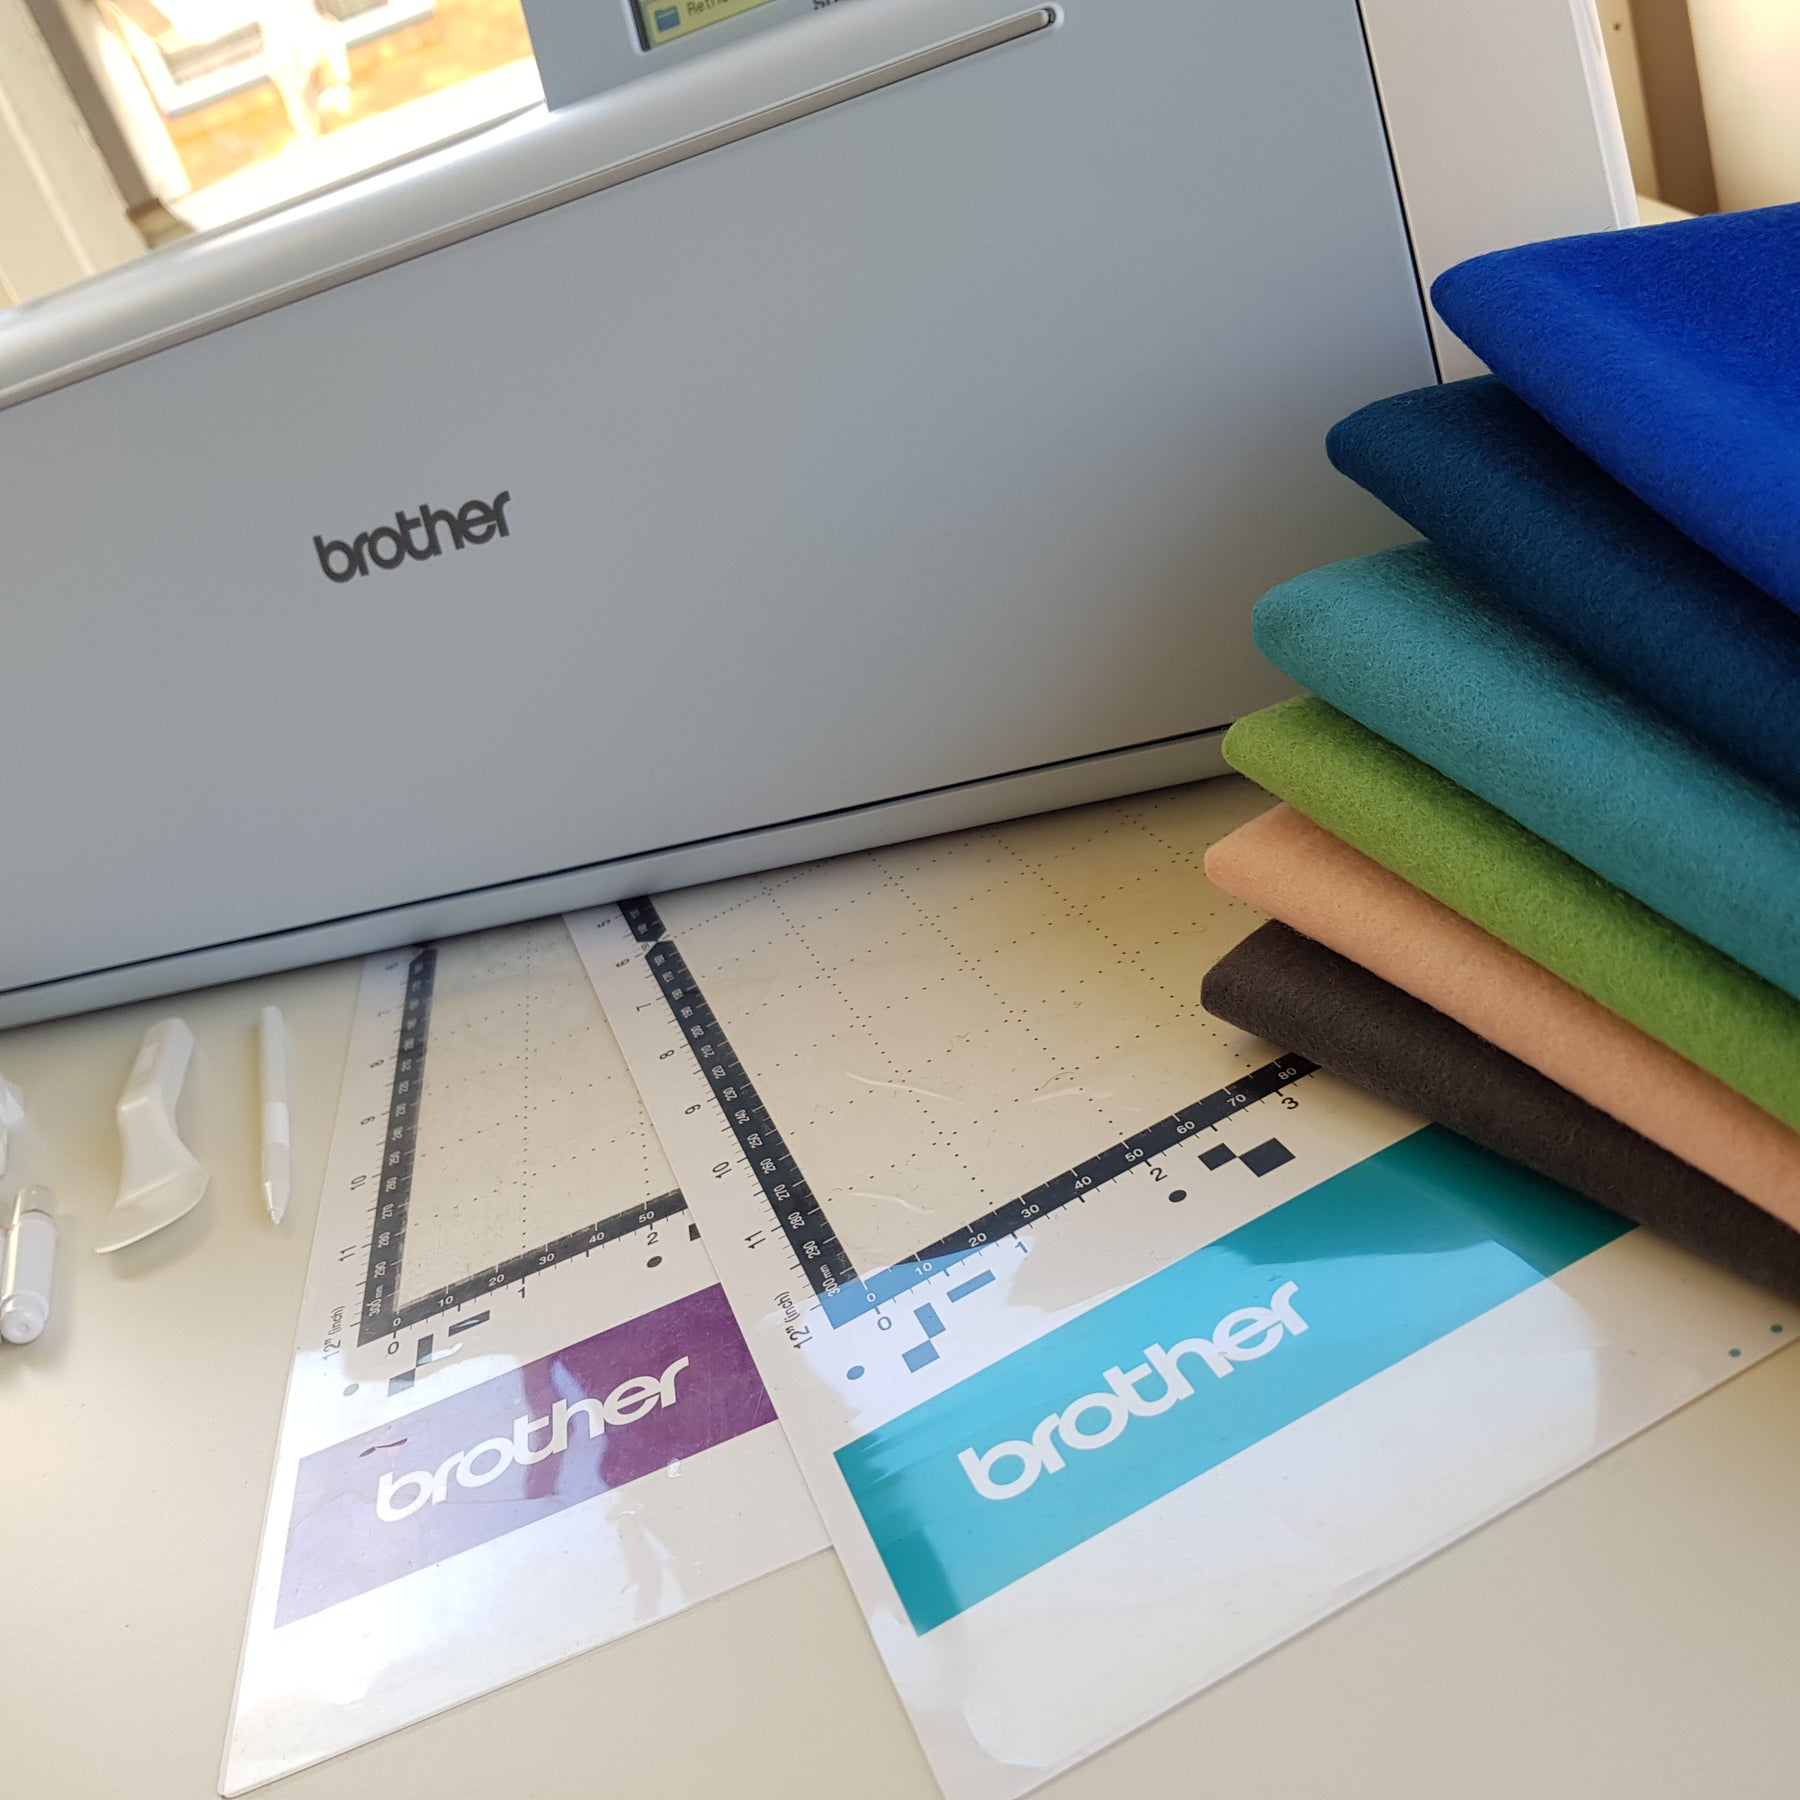
And that's not all! The ScanNCut SDX series is AUTOMATIC! You read correctly, it can now cut ALL your materials without having to input any settings with its new blade sensor technology. This had me perplexed at first, but it sure showed me off! Placing my delicate Wool Felt into the machine I waited with bated breath and viola, out came perfectly, precision cut, delicious Wool Felt shapes.
Ah, the serenity. It's SO wonderful to see how this machine works. Plus I was absolutely surprised by how quiet it was. The DX shows off its delicate loading and cutting functions with its whisper quiet feature now making the ScanNCut DX series more appealing.
Next I absolutely Love the new storage compartments and Utilities Holder. Believe me when I say this... I LOOSE MY STYLUS ALL THE TIME! Now I have a little holder I have trained myself to put it in each time I have finished using it... nice!


If you have ever wondered if this machine is for you, I guess firstly ask yourself these few questions.
How much hand cutting do I actually do?
A. A little
B. A lot
C. More than I can count
Do I use tear away or wash away papers to embroider designs onto fabric or Wool Felt?
A. Sometimes
B. Quite a bit
C. All the time
How many templates am I creating to cut shapes onto Wool Felt or fabric?
A. Not Many
B. Loads
C. I have so many I have nowhere to store them
If you answered C to more than 2 of these questions then you should definitely take a closer look at introducing this machine into your life.
OH! Fun Facts!
Here is a list of things that you can also do with the ScanNCut machine that you might not have known about.
Stamps

YOU. CAN. MAKE. DESIGN. YOUR. OWN. STAMPS!
Enough said. Imagine making something beautiful and wanting to add your special mark for all the world to see. Well you can. The ScanNCut machine has a brilliant stamping kit that you can design, cut and create your OWN stamps. Now that is just SO cool!
Embossing
The ScanNCut machine can create embossing by pressing a pattern into paper or metal sheets for either a recessed effect or a raised effect. Interesting??? Read on...

Stickers
Yeah, now we are talking. Imagine making your very own sticker sets! I know many out there love using stickers in their planners and on their products. So make your own designs, print them out, and cut the stickers using the ScanNCut machine, BRILLIANT!

Another fascinating fact about the ScanNCut is how well you can integrate this machine into your normal crafting routine. Rather than printing, tracing, ironing then cutting I will show you how to use the Brother ScanNCut SDX1200 to do it all for you.
Disclosure: This may increase your desire to purchase the ScanNCut machine LOL
Here in detail is an example on how to input a pattern, draw and cut out your shape ready for crafting.
Another Disclosure
Please continue reading if you want to know about how to create drawing and cutting files using the DX series ScanNCut Machines. Their are a lot of words from here on as I have detailed specific instructions on how to do this. Some may not be interested, but I know many have asked me how to do this. So continue to read on or if you like, why not check out my latest product... 100% Wool Felt By The Meter! Just when you thought you had enough lol.
Continuing on!
Firstly here are a few tools to have on your computer before you start. Not all of them is a requirement, however I love using these tools since that is what I have started with and I found they work well. I will share both the computer pattern transfer file steps in Brother CanvasWorkspace and the ScanNCut Scanning function Cut To File steps.
How to get the pattern onto the ScanNCut Machine using Brother CanvasWorkspace via SVG file from PDF file.
Firstly install InkScape. This tool is best used for turning PDF Pattern Files into SVG File and it's free. An SVG File is what you'll need if you have a PDF pattern to import onto the ScanNCut machine.
Next install Brother CanvasWorkspace and follow the setup guide for connecting your computer to your ScanNCut machine using the guides provided.
To change the PDF file into an SVG open the InkScape program and follow these steps
- Click File and select Import...
- Locate the page that the pattern shapes are on by using the arrow under Page Settings.
- Select OK.
- Once file has loaded onto the draw space click File Save As
- Type in your file name and make sure that it is being saved as InkScape SVG (*.svg) in Save as type.
- Click Save and you're done!**
Open CanvasWorkspace
- Click on File and select Import from your computer OR Click on the SGV file button along the left side of the screen.
- Find the file you saved from InkScape and select Open
- Once the file has loaded onto your work space you'll find that it may or may not be super itty bitty. Follow these steps should you find yourself in this predicament.
- Hit Ctrl-A to select all the images you have loaded
- Select the Edit section on the right hand side of the screen
- Go Back to Inkscape and have the image selected by clicking on it with your icon.
- On the second top banner locate the Width of Selection (also make sure it is in either Inches or Centimetres, which ever you have your CanvasWorkspace set on).
- Now copy the exact width of the shape
- Go Back to CanvasWorkspace and paste that width into the Size Width of the Edit section of the program.
- You'll now have the pattern pieces in the exact shape you'll need.
- Remove any lines or placement guides that are not required for the cutting or drawing file. Continue to refer back to the original pattern page to make sure you get all the little bits that you don't need for the final cutting or drawing files. Now for the fun bit.
- Select the sections of the image that only require drawing. Do this by;
- Refer to the pattern, select the section of the pattern that only requires drawing and in the properties section (paintbrush button on the right side of the page) select Draw.
- Do this to all parts that require drawing.
- You'll now have a file that with pattern pieces for cutting and drawing... WOW!
- Save it by clicking on File and Save As to save the work you've completed on CanvasWorkspace to your computer. Note this is not the cutting file.
- Now you can either Transfer the file to your ScanNCut machine 3 ways
- Click on Export FCM File - This will save it to your computer as a cutting/drawing file
- Transfer FCM File via the Internet - This will directly transfer the file to your ScanNCut Machine
- Transfer FCM File to ScanNCut DX via USB Cable
- Do a little happy dance cause you've successfully created a cutting and drawing file for your ScanNCut Machine. You're a Rock Star!
Now you are a FCM File Creating Master (see what I did there...) collect your materials and start Drawing and Cutting! What's cool about this is that you don't even have to do a certain one first! Leaving the material on your mat you can Draw then Cut, Or Cut then Draw!
How to get the pattern onto the ScanNCut Machine using Brother ScanNCut Scan To Cut Data function
I would detail them here however since the Brother ScanNCut Manual is super detailed with pictures and helpful hints, I'll direct you to where you can locate this information instead.
Brother ScanNCut SDX User Manual
If you are a master ScanNCut user I'm sure you'll be off to the cutting machine now and getting some serious craft on, but if you are a ScanNCut Virgin then please stay tuned to the next Blog on the ScanNCut SDX where we will be cutting out the files we created. I'll be using one of the very popular patterns by Larissa Holland from MMMCrafts, from her 12 Day's of Christmas sets. If you want to have a quick look at how it's going, check out some of the clips and photos on Instagram. Here's one to get you started...
Phew! That was fun!
See you all next time Beautiful Felt People!
xxx Candice
** Some PDF Files are not professionally digitised. You'll notice this by seeing if the lines of the pattern shapes have been hand drawn or if the file you have saved and tried to open on the ScanNCut CanvasWorkspace does not show up.
Leave a comment